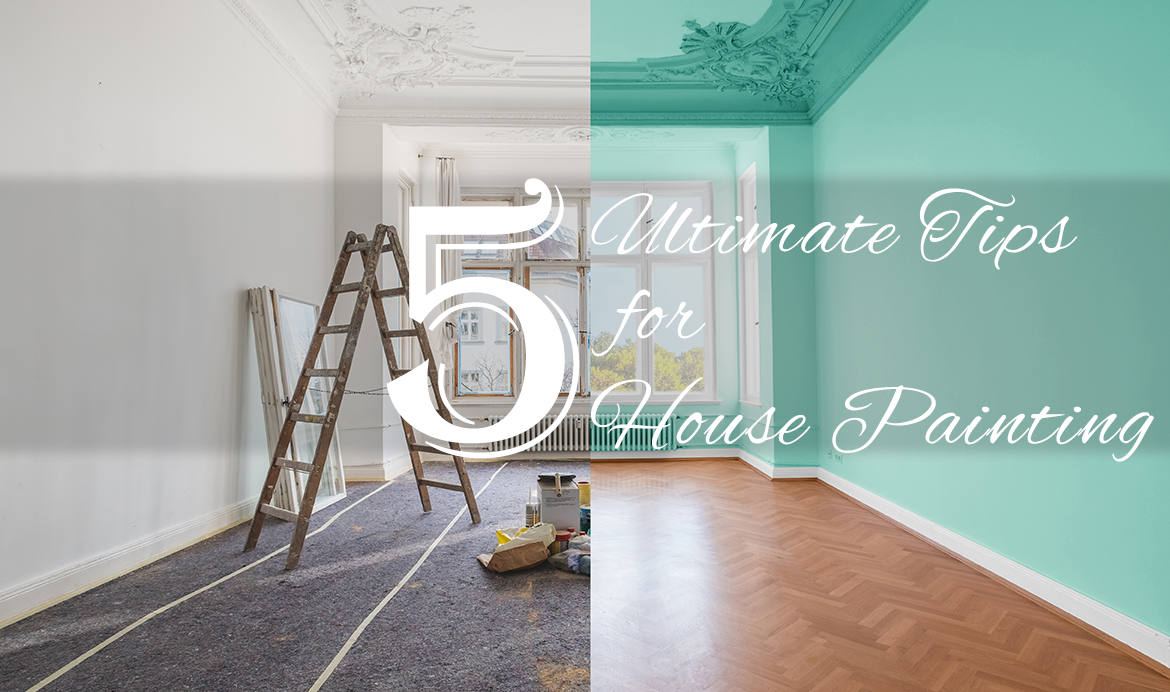
5 Ultimate Tips For House Painting
Share
How to make your house painting professional-looking while you are not an expert?

Many homeowners prefer painting their houses by themselves and of course, we possess some basic painting skills. We know that it’s important to use painters tape or stir paint thoroughly. However, do you know that microwaving paint tape can make it more manageable or in order to avoid lap marks, just brush and roll from "wet to dry" rather than vice versa?
With most DIY painting projects, knowing a few additional painting techniques can lead to the most satisfying results. These 5 painting tips below can help you improve the quality of your work and save time and money in the process, whether you’re preparing to sell, changing your decor or doing some routine home maintenance.

1. BOX PAINT FOR CONSISTENT COLOR
When you buy two or more cans of the same color paint, guess what? They are almost never the same exact color. That’s because paint color varies very slightly between cans. And that small difference can be glaringly obvious if you open a new gallon halfway through a wall. To ensure color consistency from start to finish, pros advice that we should mix our cans of paint into a five-gallon bucket, a technique known as “boxing” paint. Then you can paint directly out of the larger bucket, which eliminates the need to pour paint into a roller tray.
Some professional painters even paint directly out of the bucket. This eliminates the need to pour paint into a roller tray, though the heavy bucket is harder to move.
2. START WITH A LOADED BRUSH
Pros take a “load and go” approach to painting. We should load the bottom 1½ in. of our brush bristles with paint and then tap each side of the brush against the inside of the can. That knocks off heavy drips and prepares the brush for painting. By contrast, some homeowners often take a “load and dump” approach: They dip the brush into the paint, then drag the loaded bristles along the sides of the container, wiping off most of the paint. The result is a brush that’s too dry and has too little paint.
3. COVER FURNITURE

When painting a room, don’t bother lugging all the furniture out of the room. Instead, push all the furnishings to the center of the room and then cover it with plastic sheets that are taped at the bottom. This will protect the furniture from paint drips and splatters, and also from all the sanding dust.
4. USE CANVAS DROP CLOTHS

Professional painters don’t use old bed sheets as drop cloths, and neither should you. Thin sheets won’t stop splatters and spills from seeping through to your flooring. And don’t use plastic sheeting either. While plastic does contain spills, the paint stays wet for way too long time. And if you step in wet paint, you’ll end up tracking it throughout the house. Plus, wet paint on slick plastic becomes very slippery.
Use what the pros use—canvas drop cloths. They're more expensive, but canvas isn’t slippery, it absorbs splatters, and it’s durable enough to last a lifetime. And unless you’re painting a ceiling, you don’t need a jumbo-sized drop cloth to fill the entire room. A canvas cloth that’s just a few feet wide and runs the length of the wall is ideal for protecting the floor.
5. BUY THE BEST SUPPLIES
It’s significant to buy the best paint you can afford. It’ll go on easy, offer the best coverage, and last a long time. Plus, you’ll be able to wash off grubby fingerprints without taking off the paint. And the whole painting job will go quicker and easier, and look better in the end.
If you’re splurging on great paint, you definitely don’t want to pinch pennies on the application. Good brushes and roller covers give excellent coverage so that you don’t waste time and paint on re-application, and high-end painter’s tape is the real deal when it comes to sealing out drips and blurs.
Last but not least, the quality of your tools can make or break the finished look of your paint job. Therefore, choosing the right roller is the first step to ensure a professional-looking painting.
Paint Apliances Collection:
